Let’s be honest — if worms could talk, winter would be their least favorite season.
While you’re sipping hot cocoa and wrapping up in blankets, your red wigglers are huddled together in a chilly bin wondering where their tropical vacation went. But here’s the good news: with a few smart moves, you can keep your worm bin thriving even when the temps drop.

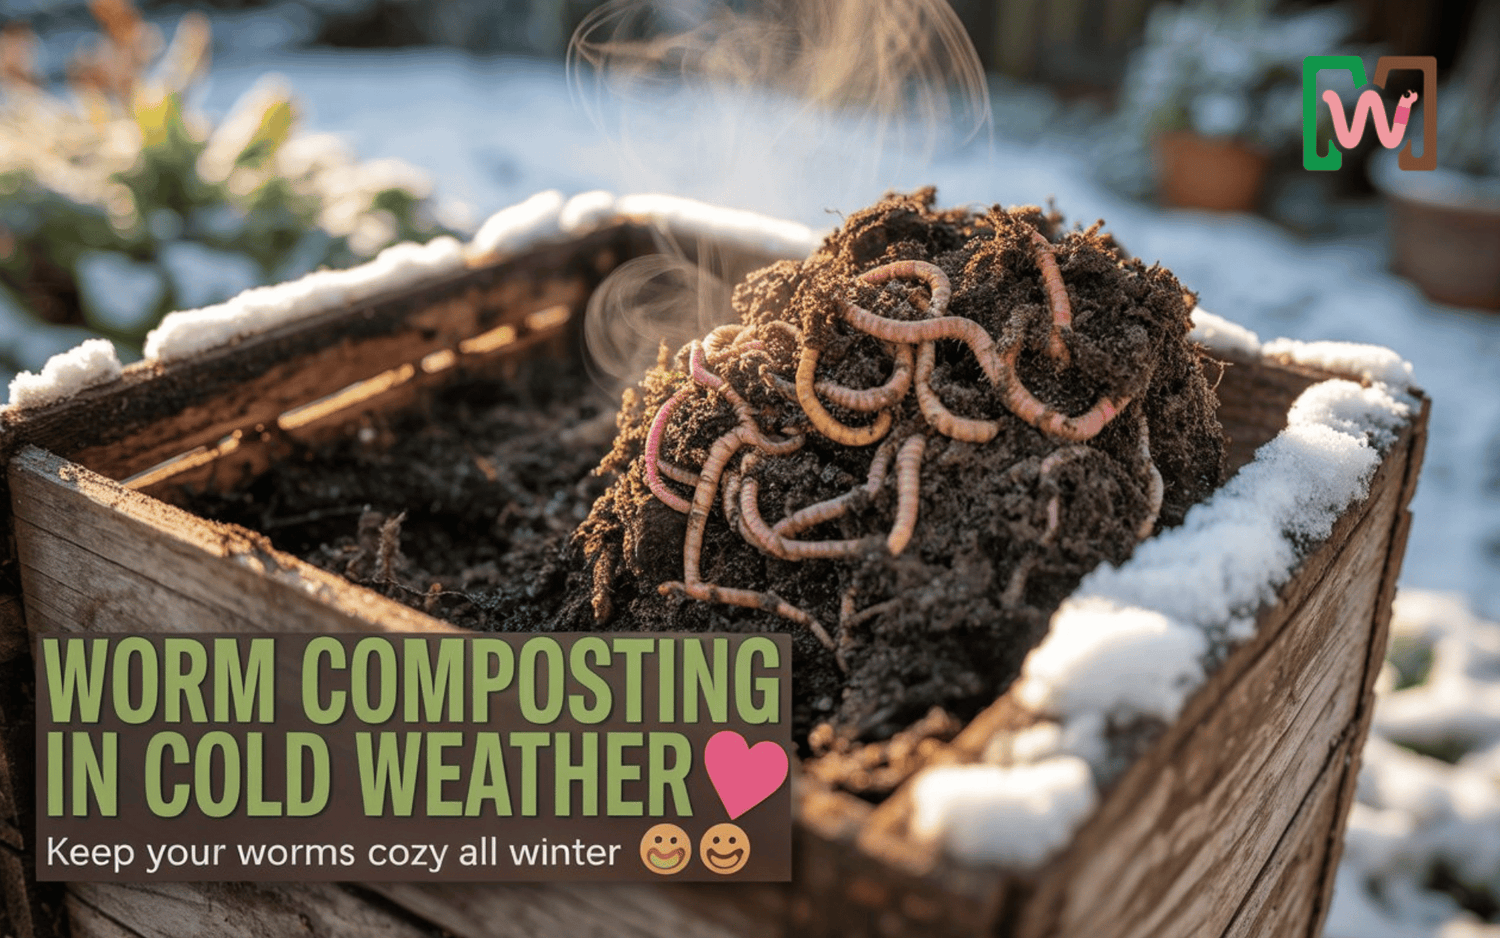
Whether you compost indoors or out, cold weather doesn’t have to mean slow worms or frozen castings. With a little insulation, feeding tweaks, and some Meme’s Worms know-how, you can keep your composting crew warm, active, and working through the winter like it’s just another day at the office — the office being a cozy bin full of apple cores and shredded cardboard, of course.
How Cold Is Too Cold for Compost Worms?
Compost worms may be tough little recyclers, but they’re not built for the Arctic.
Red wigglers (Eisenia fetida) — the composting MVPs we all know and love — are happiest when their home stays between 55°F and 77°F (13°C–25°C). Once temperatures dip below 50°F, things start slowing down. By 40°F, your worms are basically saying, “Nope, we’re out.”
Below that, their activity plummets, reproduction stops, and if the bin freezes solid… well, let’s just say you’ll be shopping for a new worm crew come spring.

But don’t panic! Worms are great survivors. If you give them a little help — some insulation, deeper bedding, and the right spot to hunker down — they can keep composting all winter long. Think of it like building them a worm-sized winter cabin… with free room service and bottomless banana peels.
Indoor vs. Outdoor Worm Composting in Winter — Which One’s Right for You?
When the temperatures drop, your worms have two options: move inside like pampered houseguests or tough it out outdoors like composting champions. Both can work — it just depends on your setup, space, and how much worm TLC you’re willing to give.
Indoor Composting: The Cozy Apartment Life
Indoor composting is the winter MVP. Your worms stay warm, active, and fed — and your castings production doesn’t skip a beat.
A garage, basement, laundry room, or even a quiet kitchen corner can make the perfect winter worm condo.
The biggest perks?
-
Stable temperatures keep your worms happy and encourage them to reproduce.
-
No frostbite (because frozen worms don’t make great roommates).
-
Easy feeding routine, even when it’s snowing outside.
The only downside? You’ll need to manage odor and moisture carefully.
A well-balanced bin won’t smell — it should have that “fresh forest floor” vibe. If it doesn’t, you might be overdue for some new bedding or a little aeration.
👉 Pro Tip: Our VermiFusion Worm Bedding from Meme’s Worms keeps indoor bins light, airy, and odor-free all season long.

Outdoor Composting: The Rustic Cabin Life
If you prefer to keep your worms outdoors, you’ll need to play a little defense against the cold. Outdoor bins can survive winter, but only if they’re insulated and protected.
Try this:
-
Wrap your bin in old blankets, bubble wrap, or straw bales.
-
Add extra bedding — at least 6–8 inches for warmth.
-
Bury food deeper to keep it from freezing.
-
Move the bin near a wall or garage for natural heat.
Worms will instinctively burrow to stay warm, so as long as the core of the bin doesn’t freeze, they’ll hang tight until spring.
And if you’re feeling fancy, toss a compost thermometer in there. Once it hits 40°F inside the bin, it’s time for reinforcements — more bedding, more insulation, maybe even a heat mat (yes, that’s a thing, and your worms will love you for it).
Simple Ways to Keep Your Worm Bin Warm (Without Overheating It)
When it comes to worm composting in cold weather, it’s all about balance — cozy, not toasty.
Your worms want warmth, not a sauna session. The goal is to keep your bin’s core temperature above 50°F but below 85°F. Anything hotter, and you risk slowdowns, stress, or worse — a bin that smells like bad soup.
Luckily, there are plenty of easy, low-cost ways to keep your worms snug all winter long.

1. Insulate Like a Pro
Start by wrapping your bin like you’re tucking in a baby for bed. Old blankets, straw bales, moving pads, or even cardboard all make great insulation layers.
If your bin is outdoors, stack hay bales around it or place it inside a larger box filled with shredded paper.
Want a pro move? Use VermiFusion Bedding from Meme’s Worms — it’s fluffy, breathable, and traps just the right amount of warmth without suffocating your worms.
2. Use the “Worm Blanket” Trick
A worm blanket is basically a cozy layer that sits directly on top of your bin’s bedding.
You can make one from burlap, shredded cardboard, or coconut coir. It helps retain heat and moisture right where your worms live — like a thermal hoodie for the worm world.
If you really want to pamper your worms, try EcoFluff Bedding — it keeps things warm but aerated, preventing mold and ammonia buildup.
3. Add Heat, the Smart Way
If you live in a really cold area, a small seedling heat mat or reptile heater under the bin works wonders.
Just make sure you:
-
Place it on one side only (so worms can move if it gets too warm).
-
Use a thermometer to keep tabs.
-
Avoid direct sunlight or heaters — those can overheat your bin fast.
Remember, worms like the Goldilocks zone: not too hot, not too cold, just right for munching and multiplying.
4. Layer for Warmth
Add thick bedding — at least 6–8 inches deep. Worms will naturally burrow to the warmest spot, so deeper layers give them somewhere safe to retreat when the chill hits.
If your bin’s inside, bedding also acts as natural insulation and moisture control.
Pro Tip: Mix shredded paper with VermiPro Euro Blend for extra fluff and heat retention — the perfect combo to keep worms active all winter.
Winter Feeding Tips — What (and How) to Feed When It’s Cold
When winter hits, your worms basically switch from marathon mode to slow yoga.
They’re still working, but at half-speed — breaking down food slower and eating less overall. So if you feed them like it’s July, you’ll end up with soggy, smelly leftovers faster than you can say “banana peel disaster.”
The trick to winter feeding is smaller, smarter portions that create just enough warmth without overwhelming your bin.

1. Go Easy on the Food
Feed your worms half as often as usual.
In summer, they can handle weekly feedings — in winter, every 10–14 days is plenty.
If food scraps linger, wait before adding more. Worms can’t process frozen or spoiled food, and too much moisture in cold weather leads to “swamp bin syndrome” (trust me, you don’t want that smell in your garage).
2. Choose “Warm” Foods
Some foods naturally generate mild heat as they break down — perfect for keeping your bin’s core temperature cozy. Try:
-
Banana peels 🍌
-
Coffee grounds ☕
-
Lettuce or cabbage leaves 🥬
-
Apple cores 🍏
-
Oatmeal or cornmeal (just a sprinkle) 🌾
Avoid citrus, onions, or anything oily — those mess with your bin’s pH balance, especially when decomposition slows.
3. Chop It Small
Smaller pieces break down faster — even in cooler temps.
Think of it like pre-chewing dinner for your worms (gross, but true).
Running scraps through a food processor or chopping them finely helps your worms eat more efficiently without rotting odors.
4. Add More Bedding Between Feedings
During winter, bedding isn’t just for warmth — it’s part of your feeding rhythm.
Every time you add food, mix in a handful of EcoFluff Bedding or shredded cardboard.
It absorbs moisture, controls odors, and keeps the bin from turning into a cold compost stew.
5. Keep Moisture in Check
Cold air dries things out faster than you’d think.
Squeeze a handful of bedding — if it drips, it’s too wet; if it crumbles, it’s too dry.
You want that perfect “wrung-out sponge” feel.
If things look dry, mist lightly with dechlorinated water or worm tea (bonus: it adds nutrients).
What to Do If Your Worm Bin Freezes (and How to Revive It)
So… you opened your bin and found it colder than your ex’s heart. Don’t panic — even if your worm bin froze, it might not be the end of the world.
Worms are tougher than most people think, and with a little care (and patience), you might just pull off a full recovery.
Here’s exactly what to do if your worm bin turns into a compost popsicle:

1. Bring the Bin Indoors — Slowly
If your bin is outside and you notice frost or stiffness in the bedding, move it somewhere warmer — a garage, basement, or laundry room works great.
But here’s the catch: don’t rush the thaw. Sudden temperature changes can shock your worms worse than Alabama weather in April.
Let the bin warm up gradually over 24–48 hours. Keep the lid slightly open to prevent condensation buildup as it defrosts.
2. Check for Survivors
Once thawed, gently dig into the middle layer — the core often stays warm enough for some worms to survive.
If you spot even a few wigglers, you’re in business. 🪱 Move them into fresh bedding with stable temperatures and minimal feeding until they recover.
Dead worms (sorry, it happens) will start to decompose, so remove any you find to prevent odor and ammonia buildup.
3. Rebuild the Environment
After thawing, your old bedding is likely soggy, acidic, and depleted. Time to give your worms a clean slate:
-
Remove any frozen sludge or compacted material.
-
Refill with fluffy, neutral bedding like EcoFluff or VermiFusion Bedding from Meme’s Worms.
-
Keep moisture balanced — damp, not drenched.
This “refresh” helps restore airflow, control odor, and make your worms feel right at home again.
4. Feed Lightly at First
Think of your recovering worms like patients on soft food.
Start with small, easy-to-break-down scraps — banana peels, coffee grounds, or lettuce.
Avoid acidic or heavy materials until they’re active again. Within a week or two, they’ll be back to eating, crawling, and multiplying like normal.
5. Insulate Before the Next Freeze
Once your bin’s back on track, make sure it stays that way. Add thicker bedding layers, wrap your bin, or move it indoors before the next cold front hits.
Trust me — you only need one frozen bin experience to become a believer in worm insulation.
Winter Worm Composting Recap + Quick Checklist
Cold weather might slow your worms down, but it doesn’t have to stop your composting journey.
With the right setup and a little extra care, your red wigglers can stay warm, cozy, and productive all winter long — turning scraps into garden gold even when there’s frost on the windows.
Here’s your quick Winter Worm Bin Survival Checklist:
✅ Keep your bin between 50°F–77°F for happy, active worms
✅ Insulate your bin using blankets, straw, or EcoFluff Bedding
✅ Feed half as often and in smaller portions
✅ Use “warm” foods like banana peels and coffee grounds
✅ Add 6–8 inches of fluffy bedding for warmth
✅ If your bin freezes, thaw slowly and rebuild the bedding
✅ Avoid citrus, dairy, or anything greasy (cold weather slows decomposition)
✅ Always keep your moisture “just right” — damp, not soggy

Final Thoughts:
Worm composting in cold weather isn’t about perfection — it’s about consistency.
Even small actions, like adding an extra layer of bedding or moving your bin closer to the house, can make a big difference.
Remember: nature doesn’t stop in winter… it just works quietly underground.
And your worms? They’re the unsung heroes of that story.
So grab a blanket, feed your little compost crew, and give yourself a high-five — you’re keeping nature’s recycling team alive through the coldest months of the year.
👉 Need bedding or worm supplies to winter-proof your bin? Visit www.memesworms.com — your worms will thank you later.

Leave a comment
All comments are moderated before being published.
This site is protected by hCaptcha and the hCaptcha Privacy Policy and Terms of Service apply.